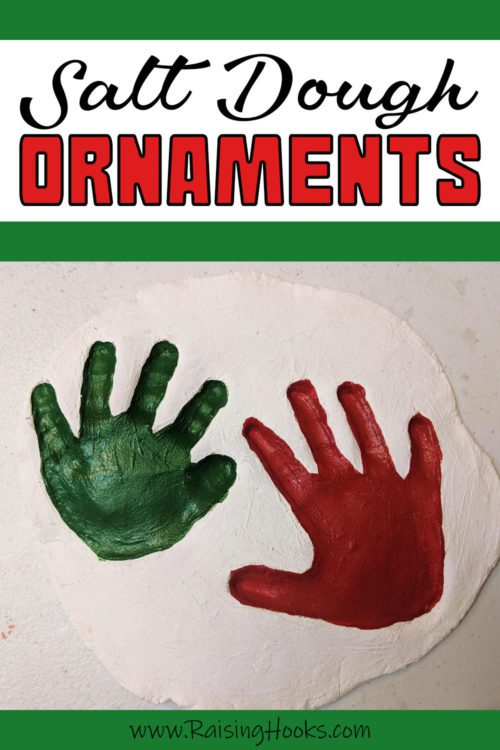
Salt Dough Ornaments
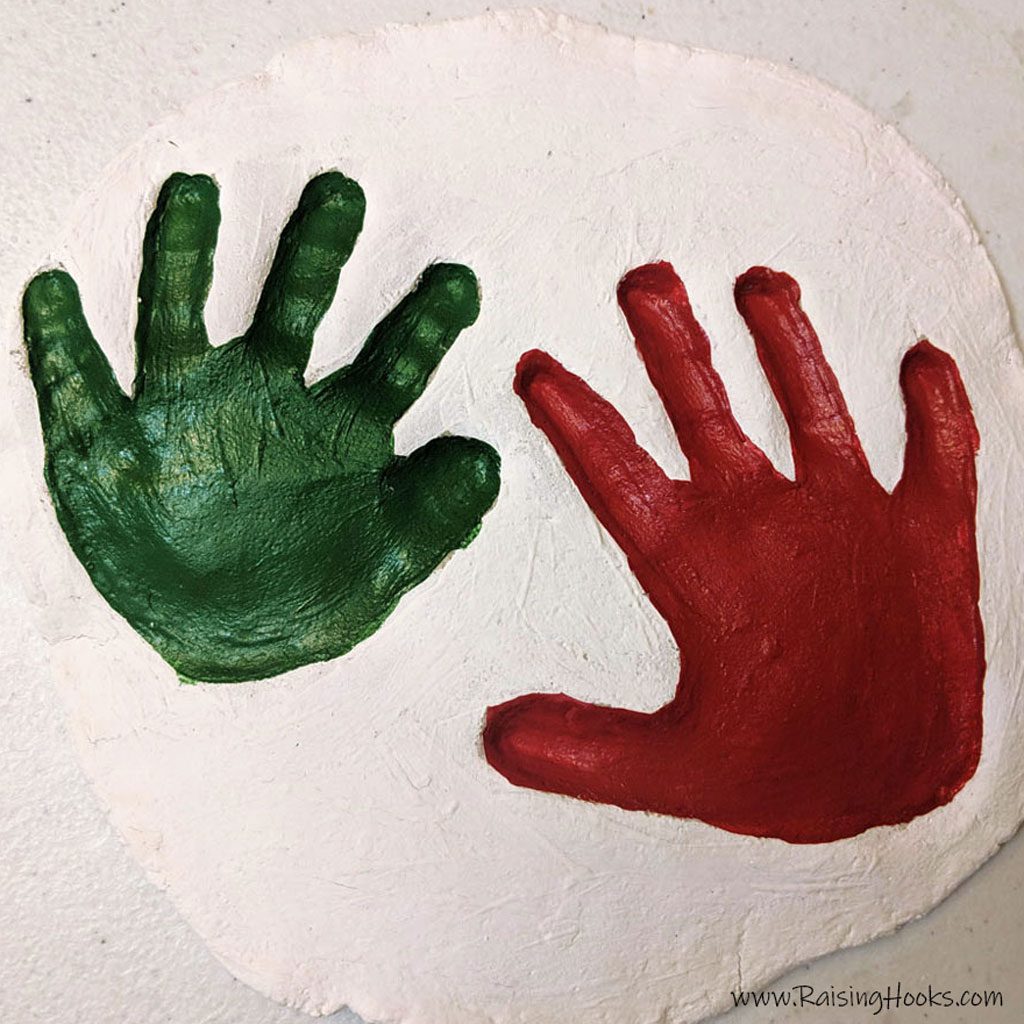
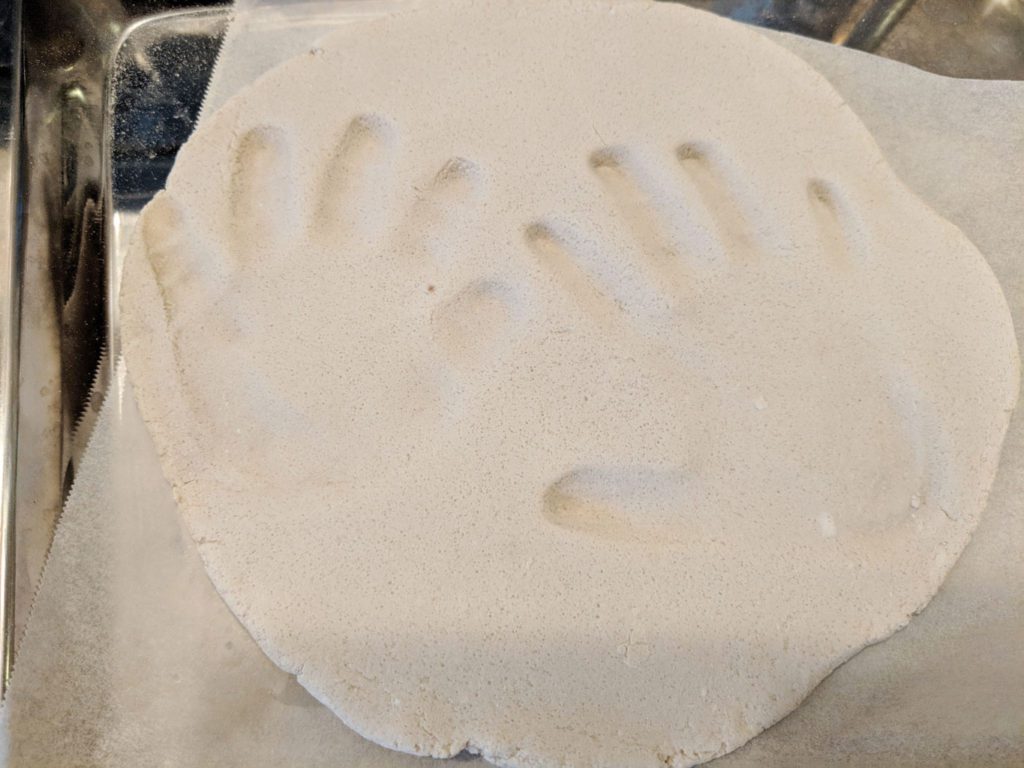
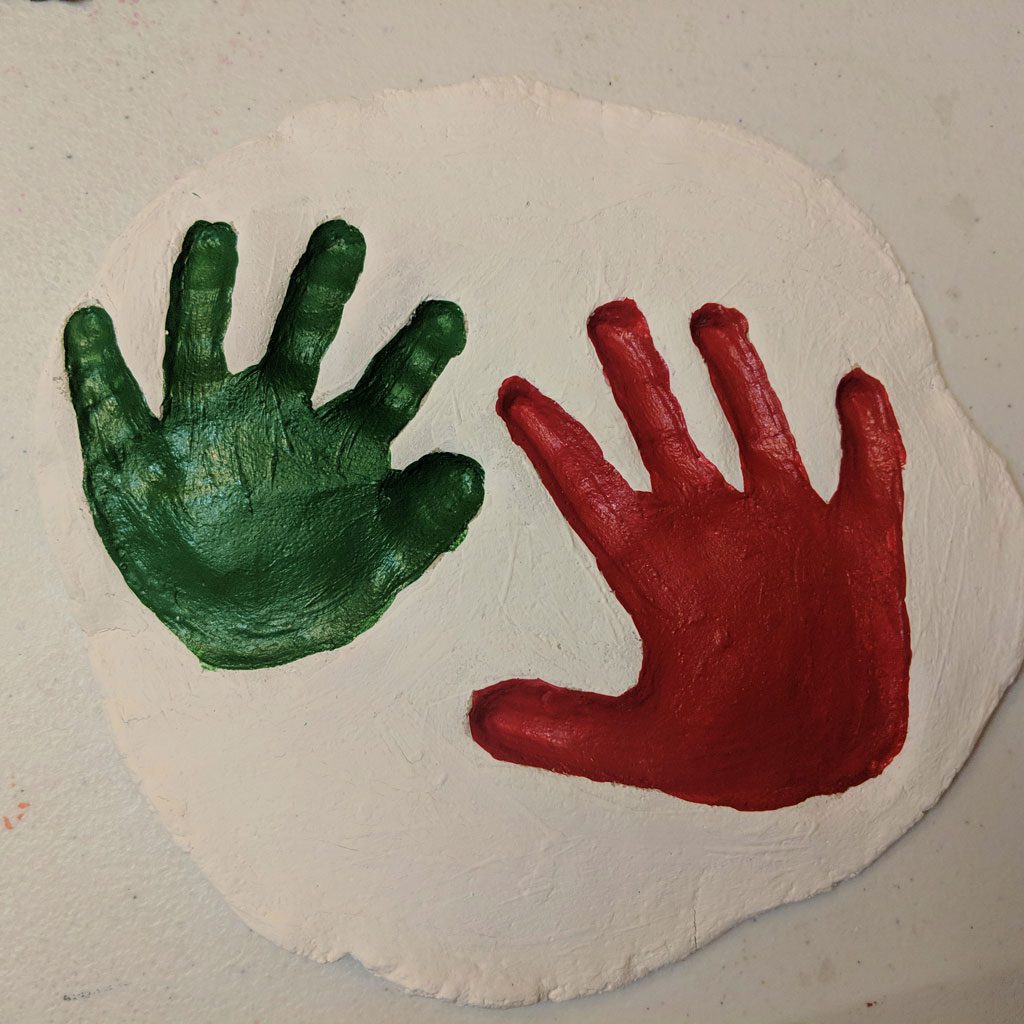
We’ve only made salt dough ornaments a few times and every time the dough raised or bubbled. I tried to do hand and foot prints but the dough puffs up, you can’t see the print anymore. It’s ruined a lot of our ornaments. So this year I was determined to figure out how to NOT make our ornaments puffy and I finally did it!
You will need:
2 cups all-purpose flour
1 cup salt
1/2 cup water
Acrylic Paint
Ribbon
Cookie Cutters
Hot Oven
Straw
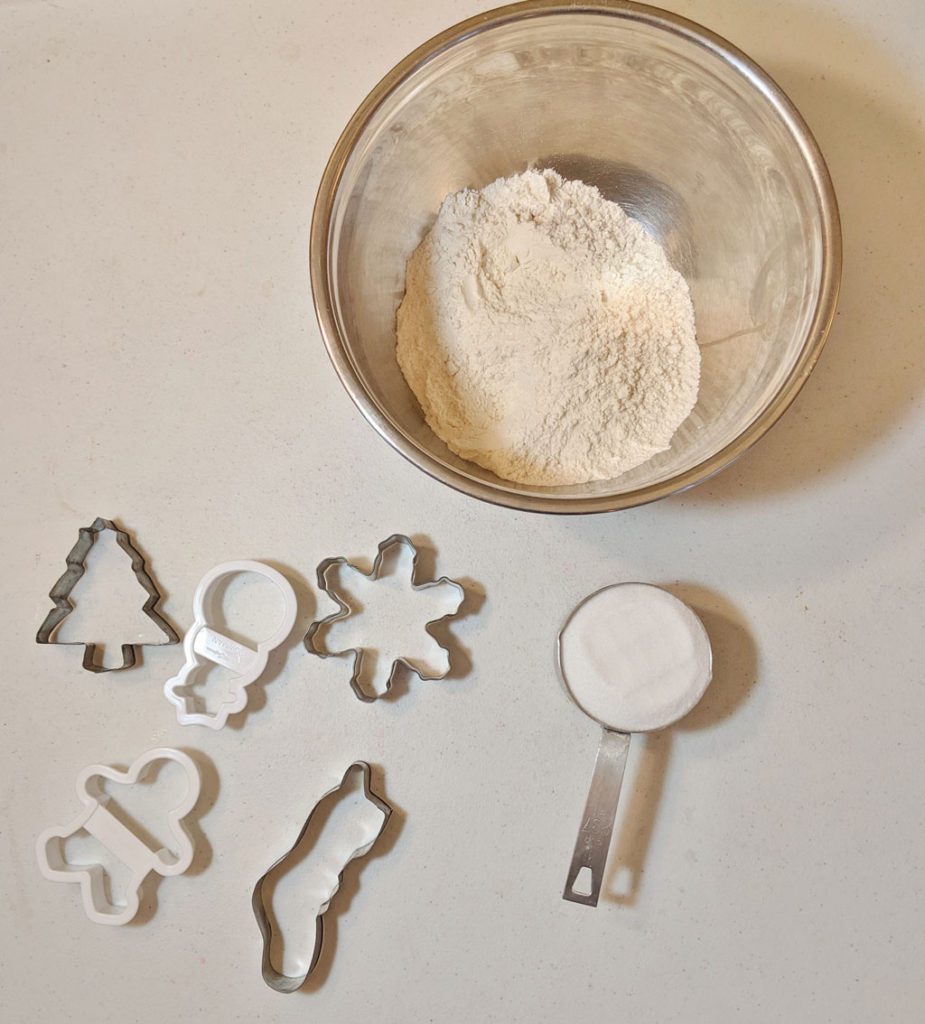
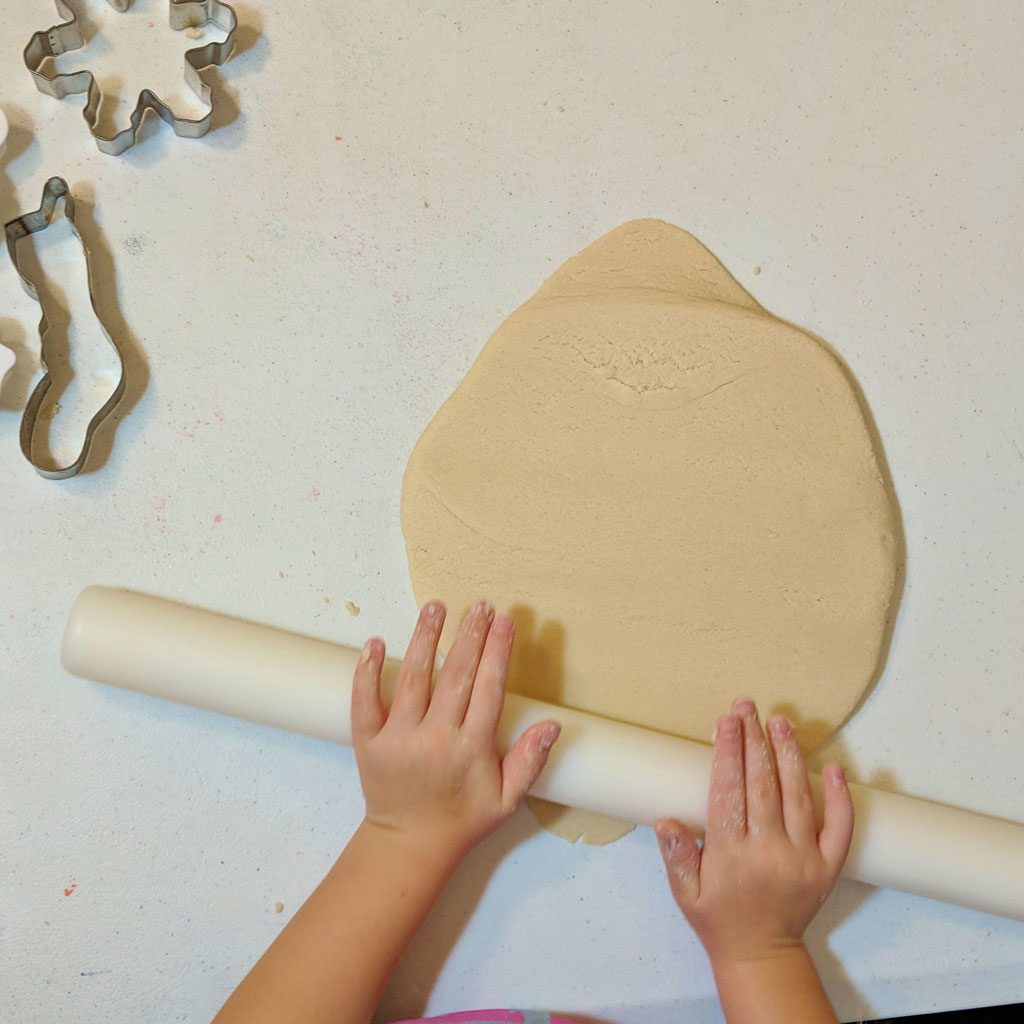
Measure 2 cups of all-purpose flour and 1 cup of salt into a bowl. Add a 1/2 cup of water and mix. Keep adding a small amount of water until the mixture blends together creating a smooth -not sticky- ball of dough.
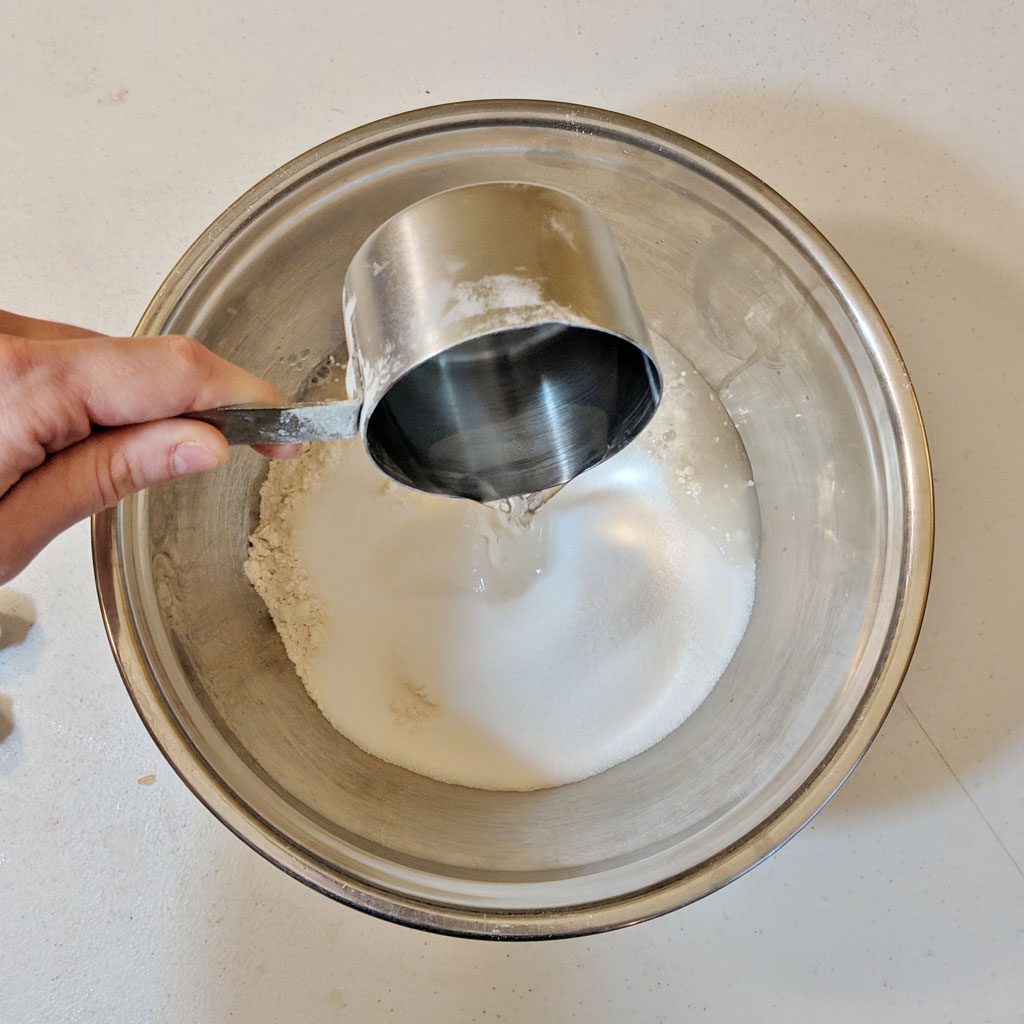
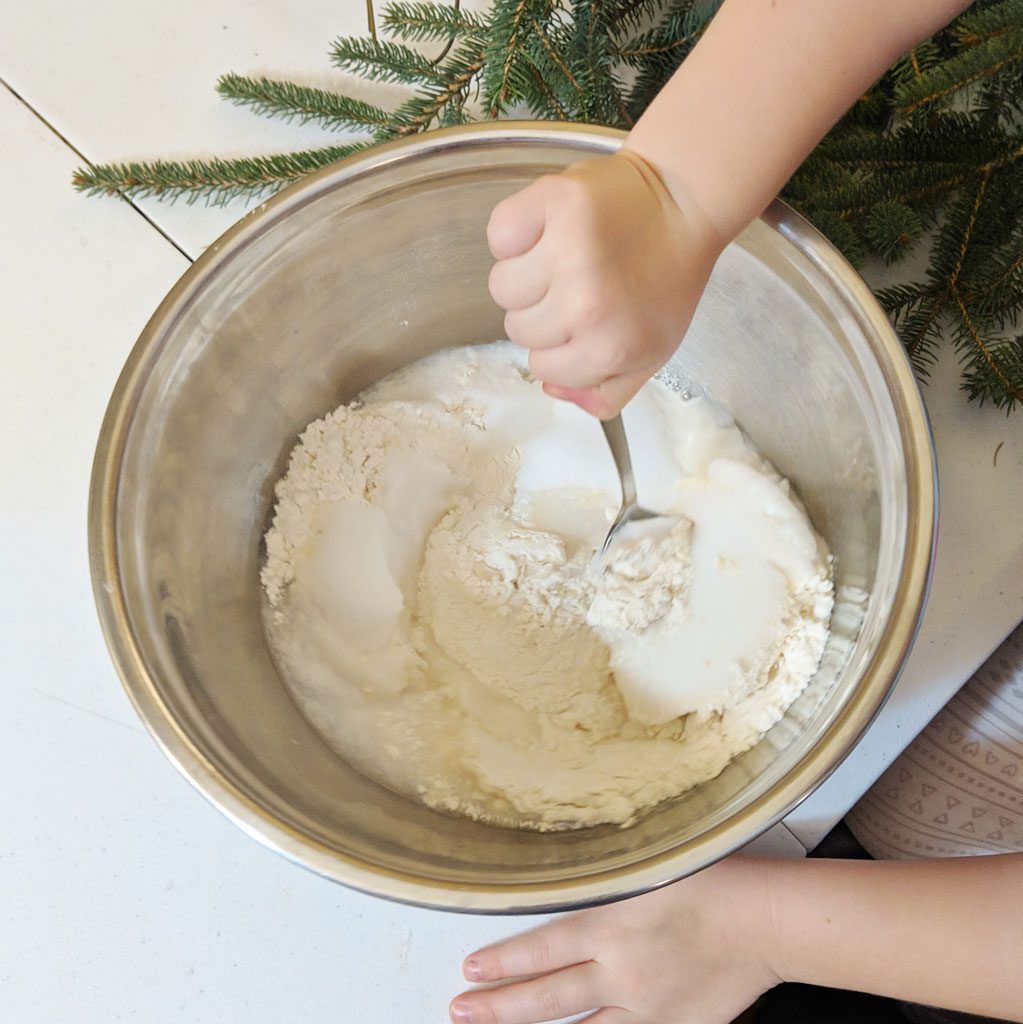
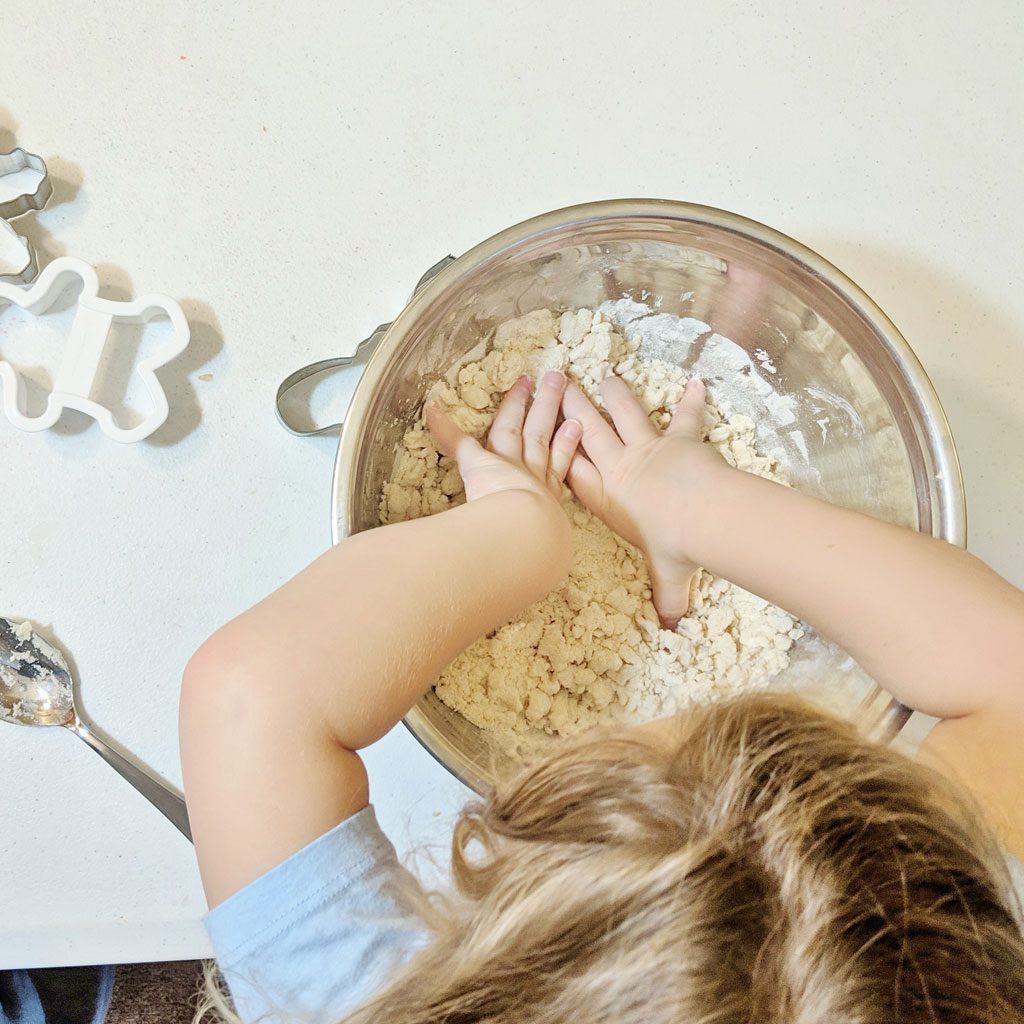
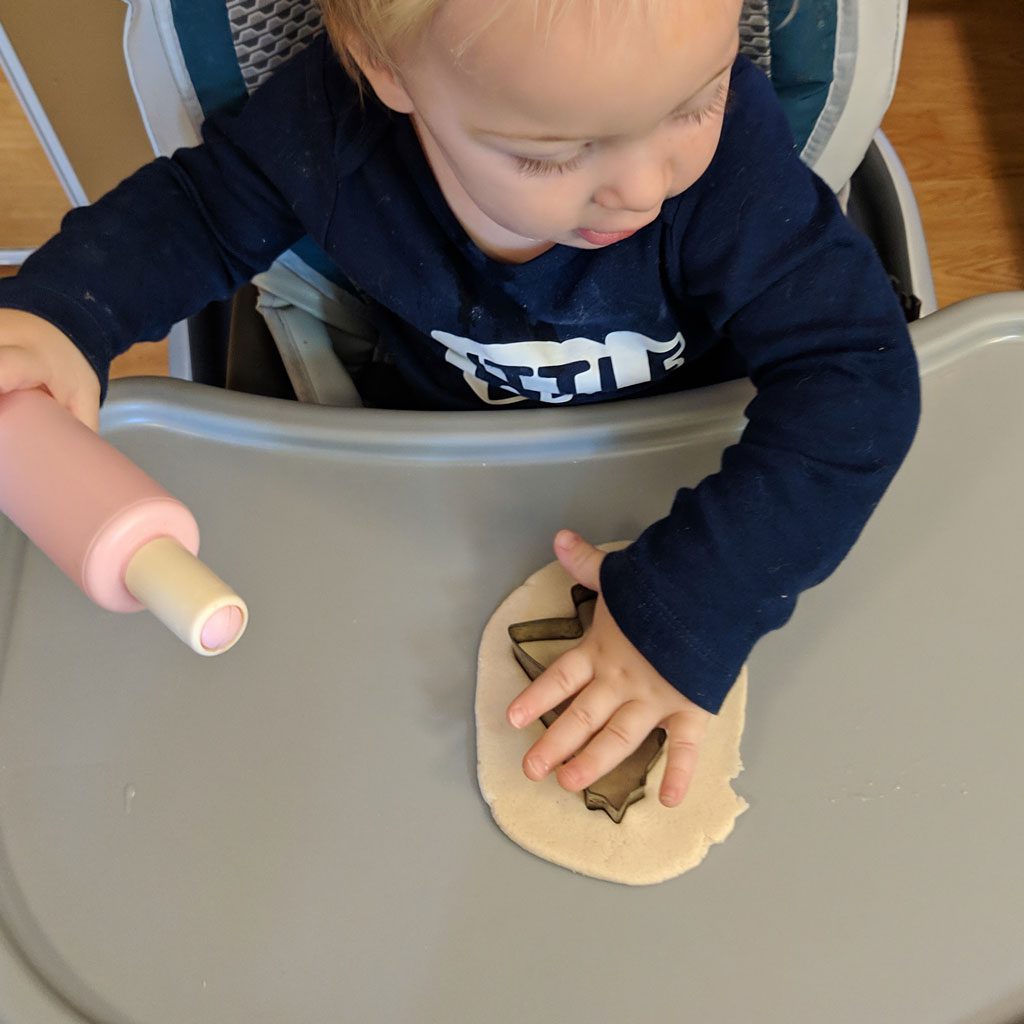
The idea is to add as little water as possible but still have it moist enough to hold together and roll out. I started mixing with a spoon but Miss 4 got right in with her hands to squeeze and smoosh it.
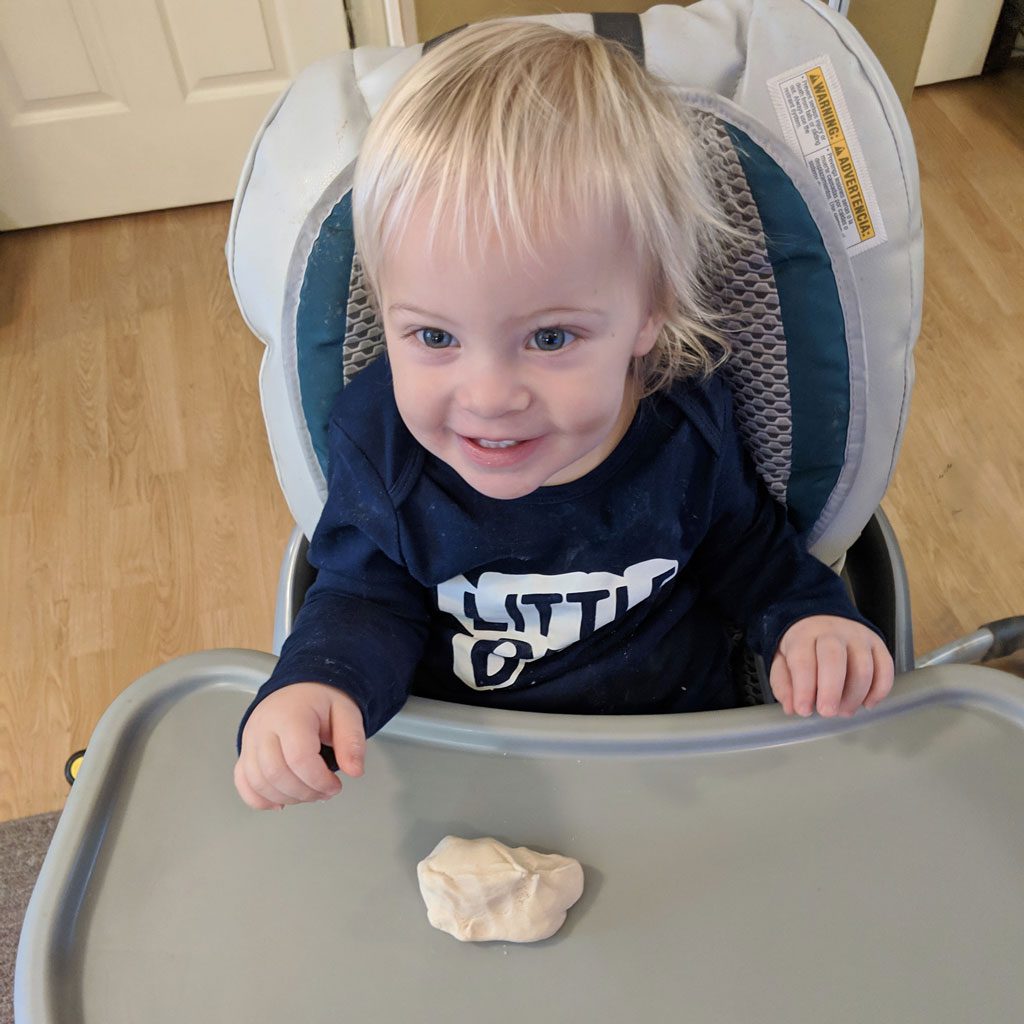
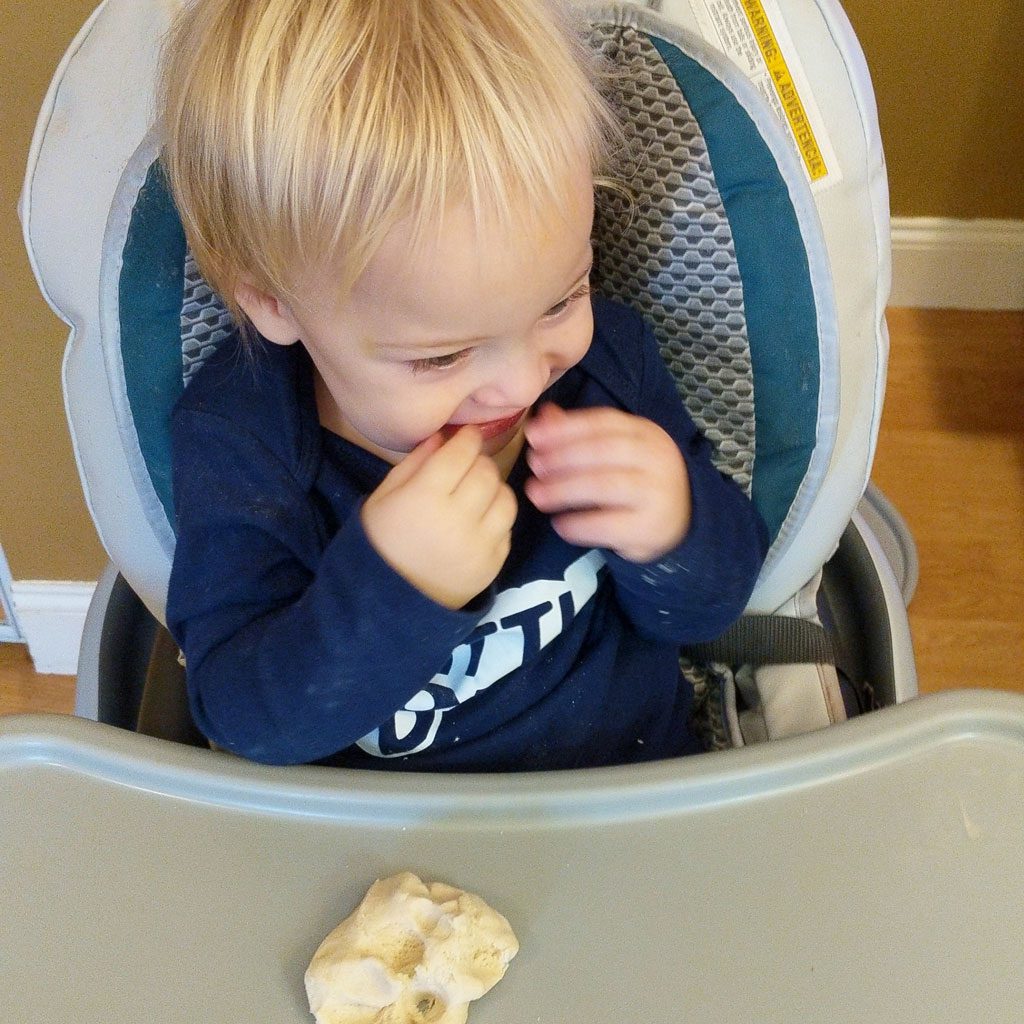
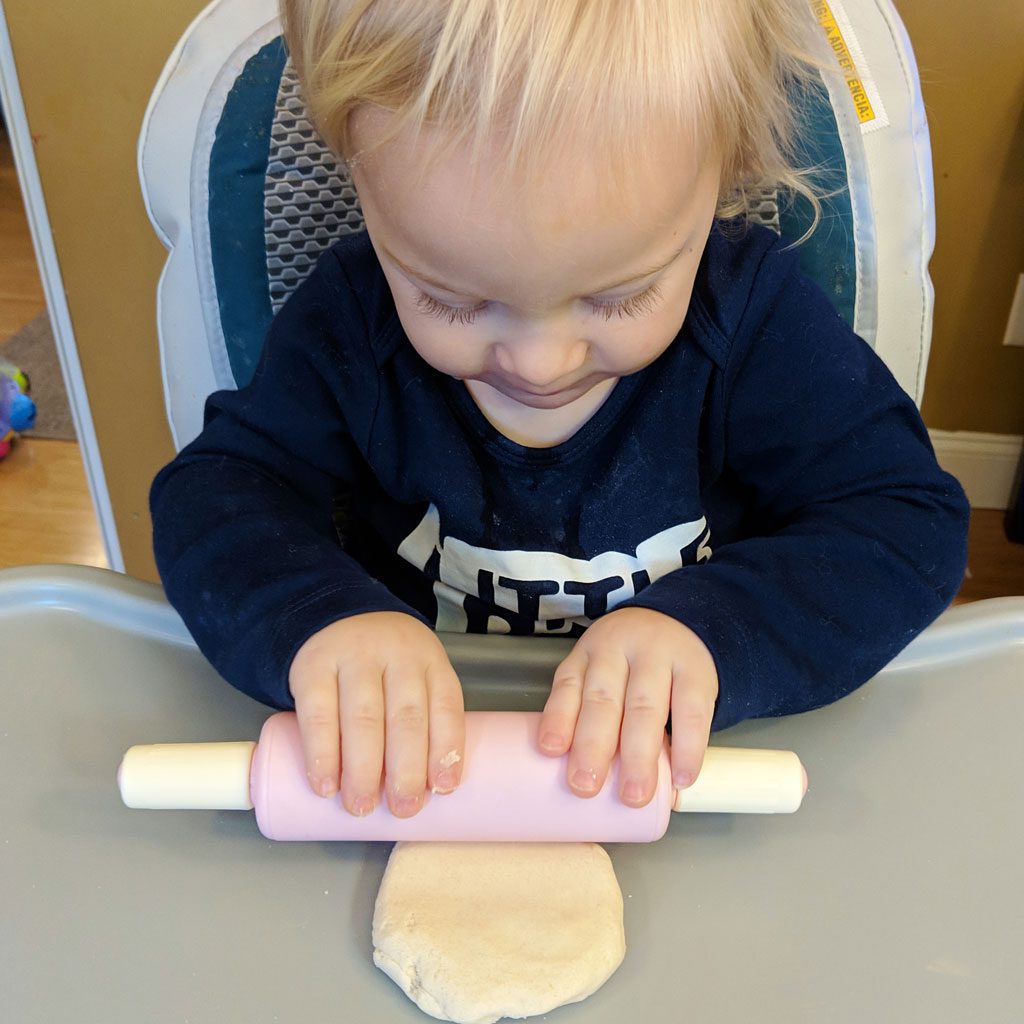
I gave Little Bro a small ball of dough to roll out and play with. He wanted to taste it and I let him. HUGE MISTAKE! I thought it would just be a learning lesson that sometimes things don’t taste good but he immediately started gagging. Poor guy. Needless to say, I won’t do that again!
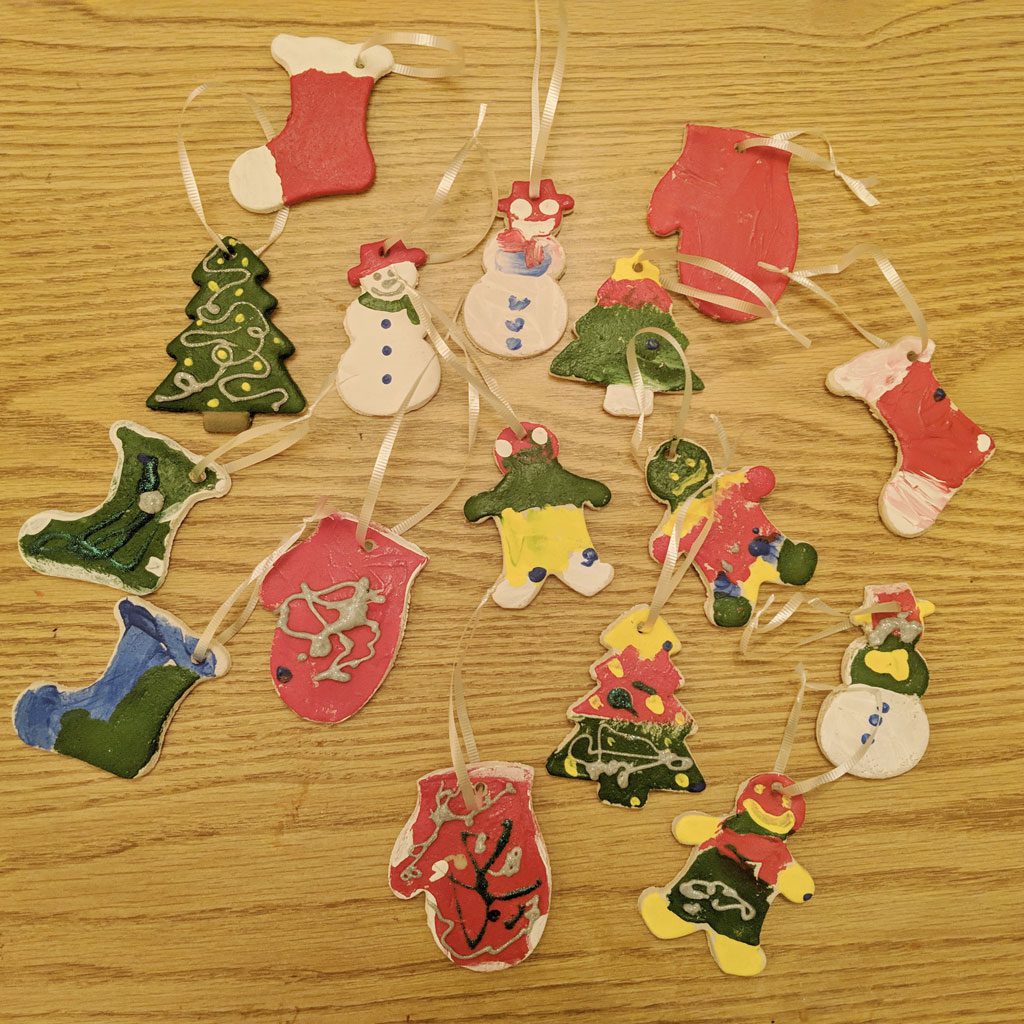
Roll the dough to about 1/4″ thick and use cookie cutters to cut out the ornaments. Use a straw to make holes where you want them to hang from.
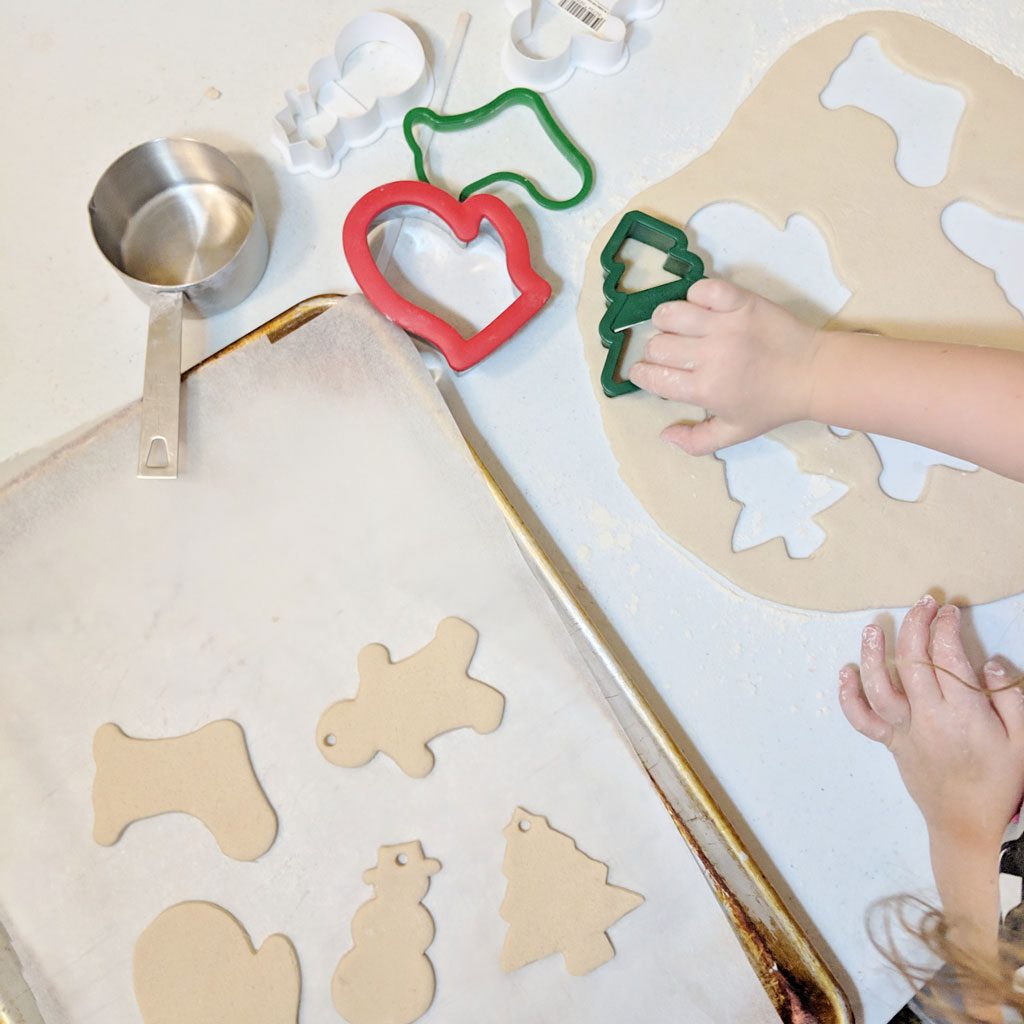
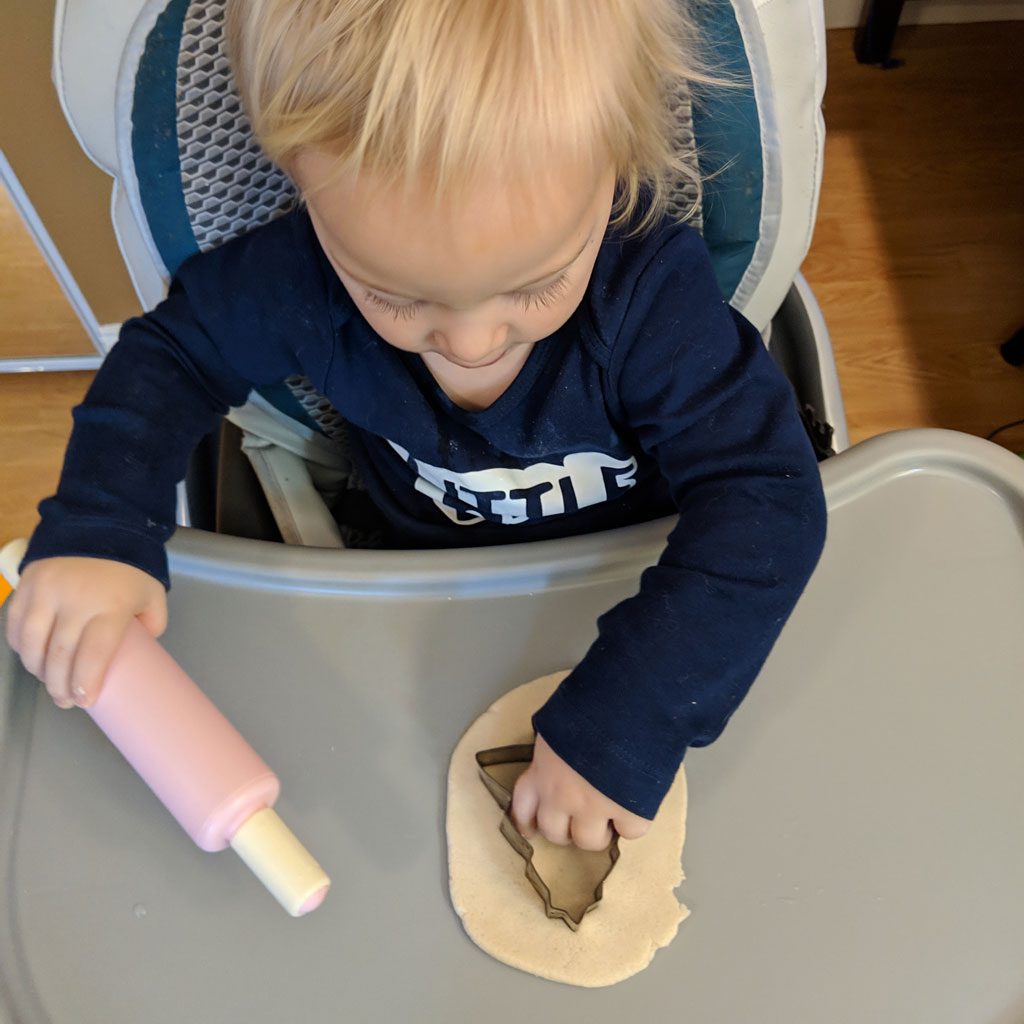
Little Bro got to make a few of his own. I really prefer plastic cookie cutters or the ones with a grip like these. They are stronger and don’t bend like the thin metal ones. Our first Christmas tree ended up a bit wonky from a bent cookie cutter and I totally gave up on the strange shape our stocking cutter turned into.
Put them on a cookie sheet with parchment paper and stick them in the oven. Make sure your oven is set to 150°f. This is SUPER IMPORTANT. I have seen others use hotter temperatures but I haven’t been able to do so without getting puffiness.
So, plain all-purpose flour, 150ºf oven and 1/4 inch thickness = no puffy ornaments.
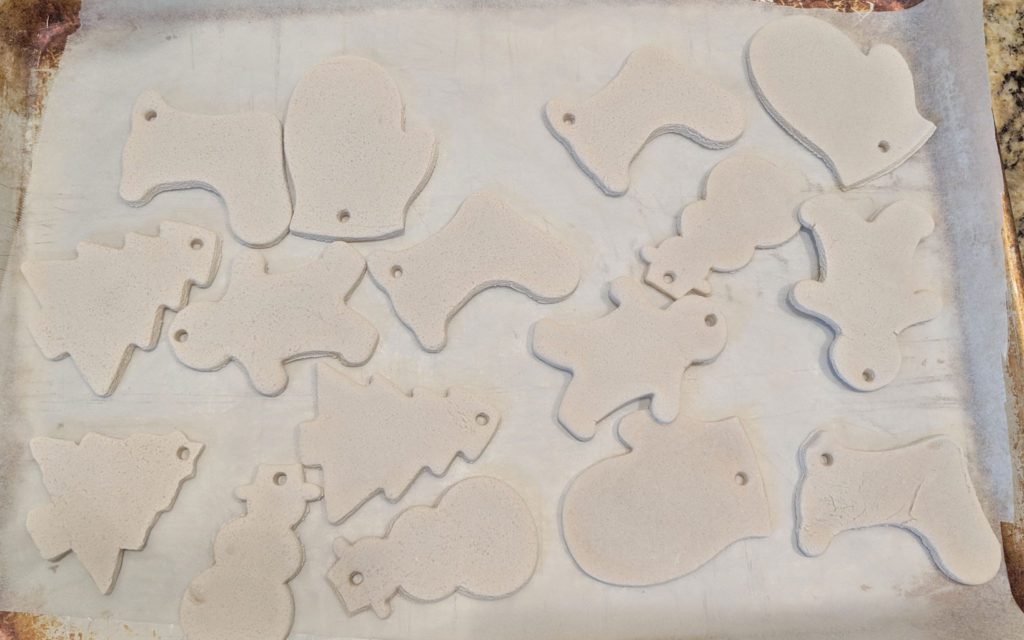
Be ready to have your oven available for a few hours. Ours took about 3 hours to dry.
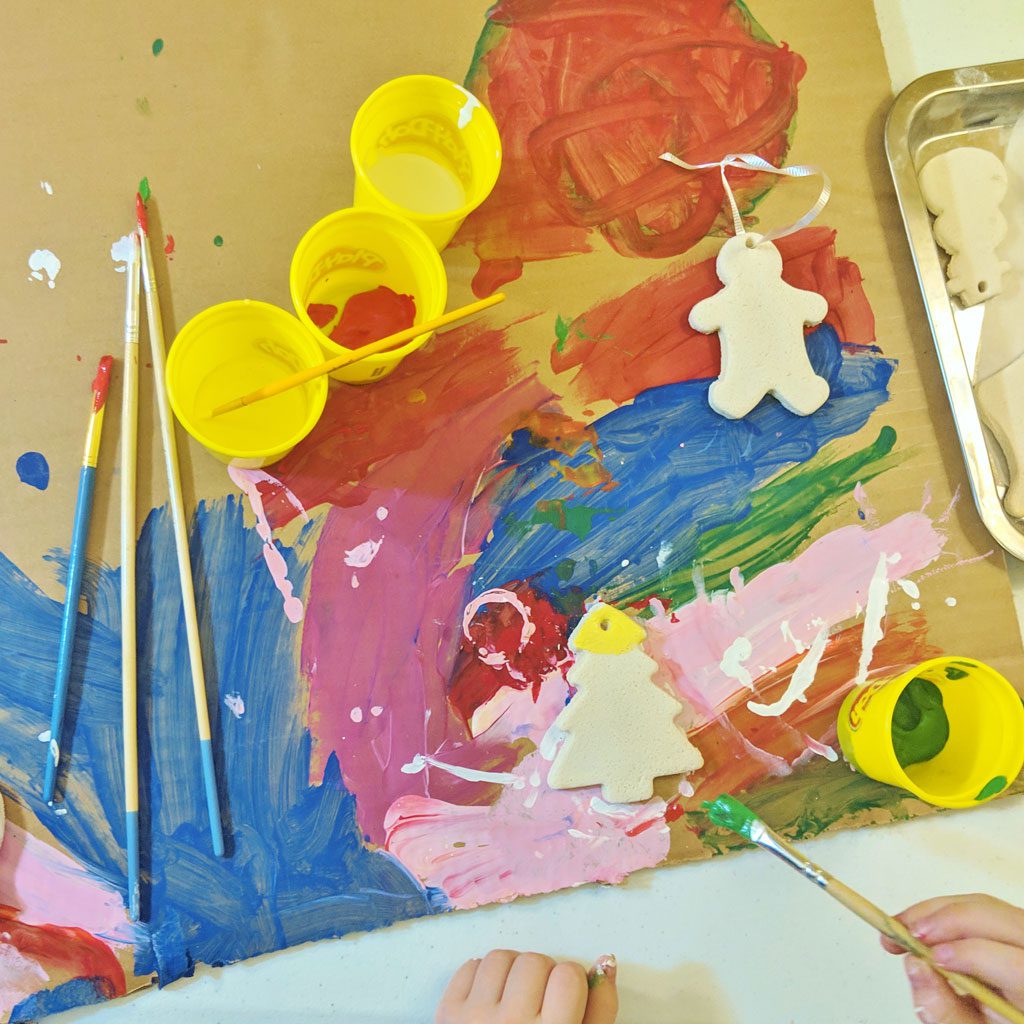
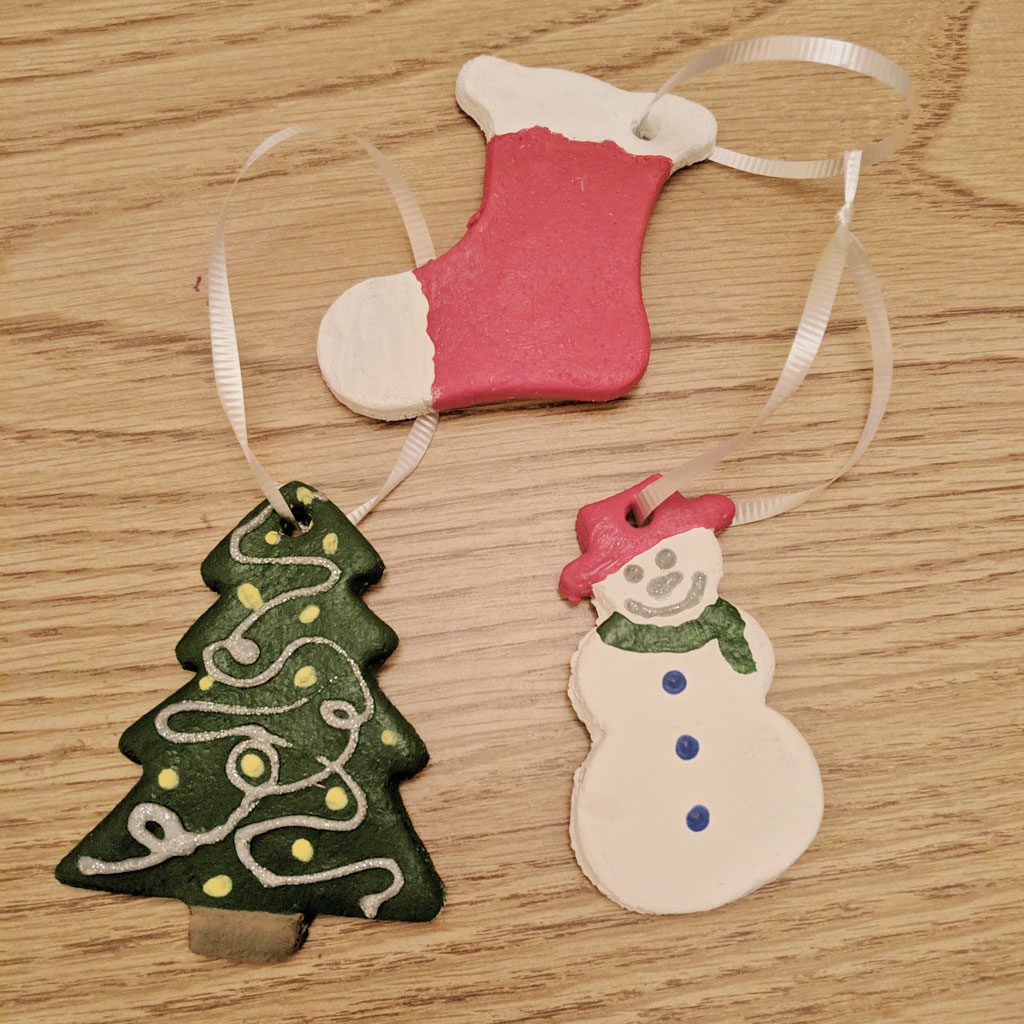
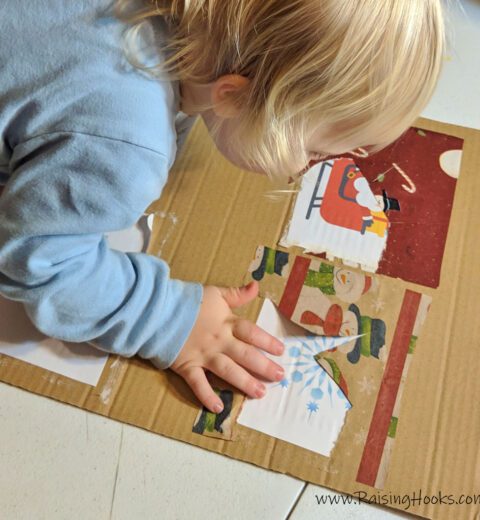
Then paint your ornaments! We used acrylic paint. I had been saving these old playdough containers and they worked really well to hold the paint for Miss 4 to do her thing.
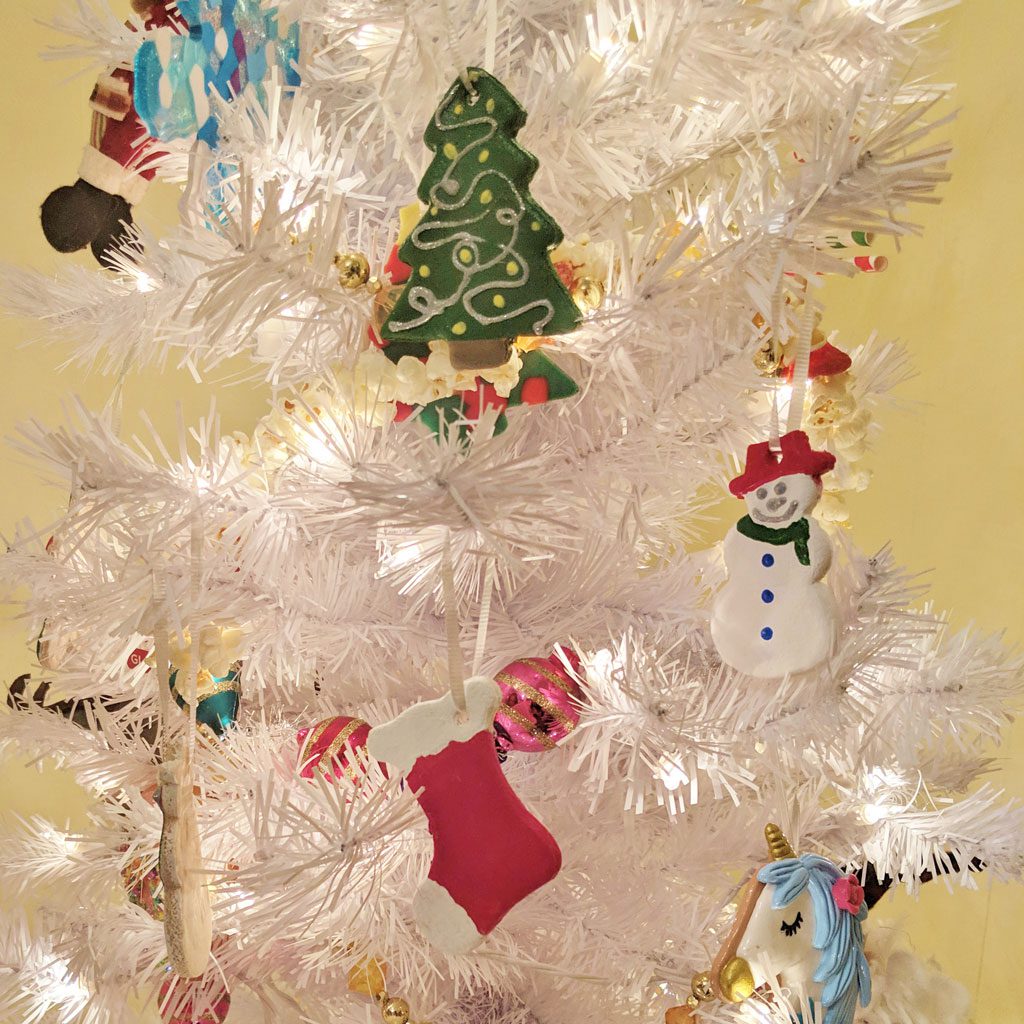
String them with ribbon and hang your decorations! I tried yarn but much preferred the ribbon. The yarn unraveled and frayed.
I was really happy with how these turned out. I’m glad to have finally figured out the perfect Salt Dough Recipe!

Related Posts
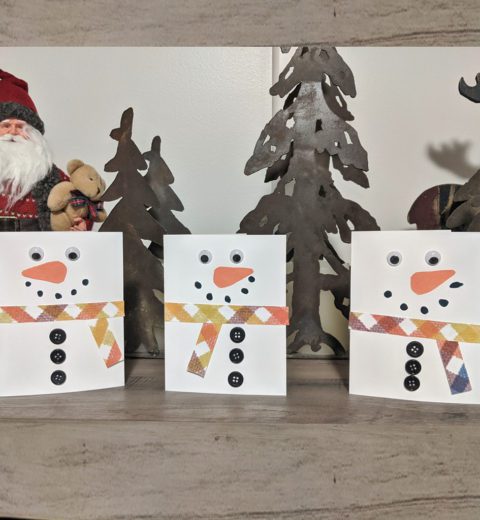
Snowman Cards
December 19, 2019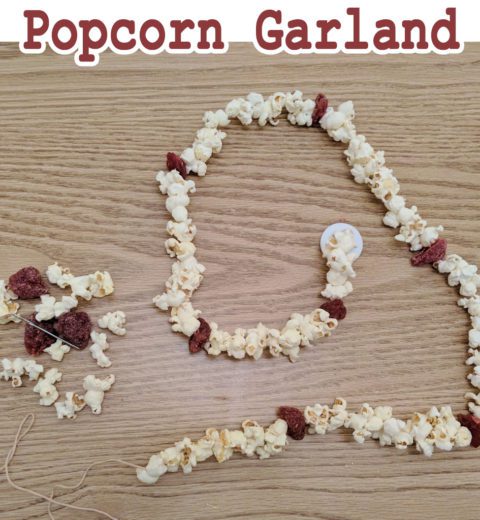
Popcorn Garland
December 7, 2018