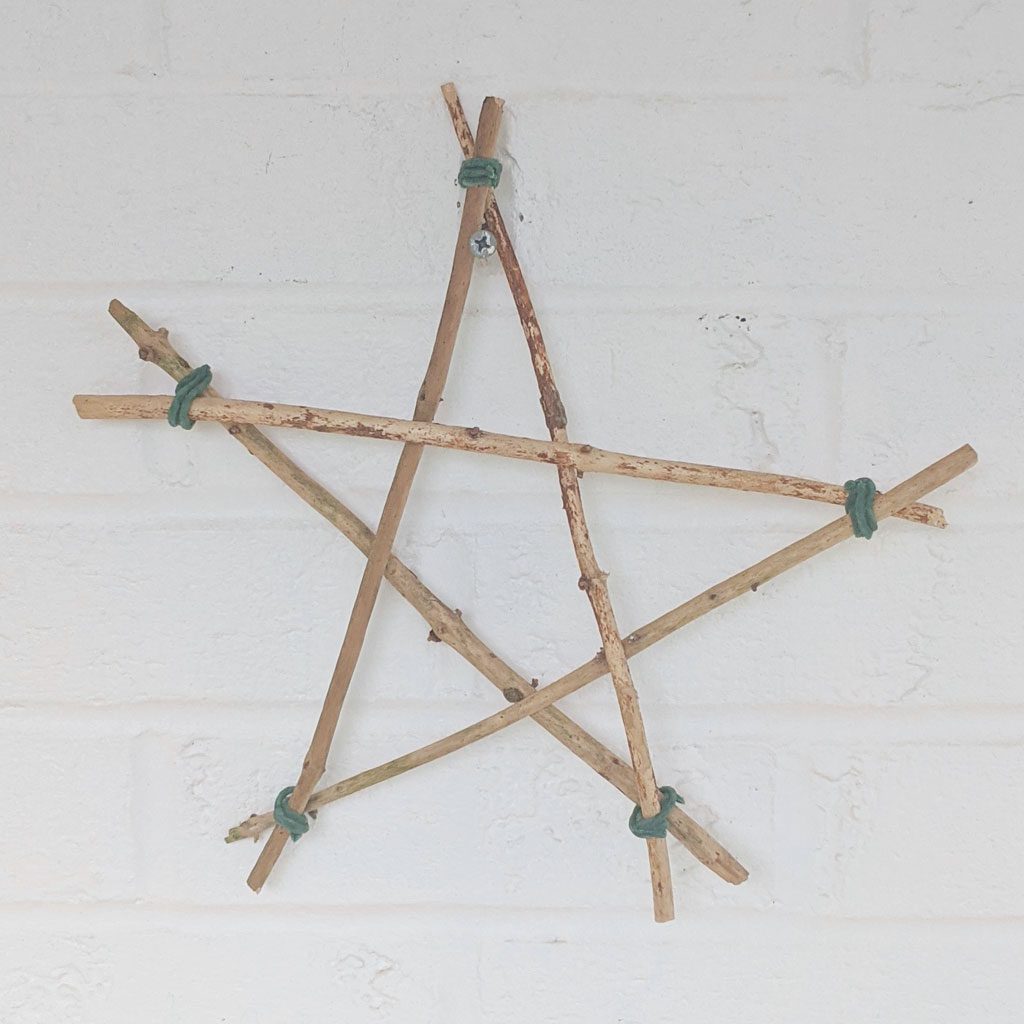
Twig Stars
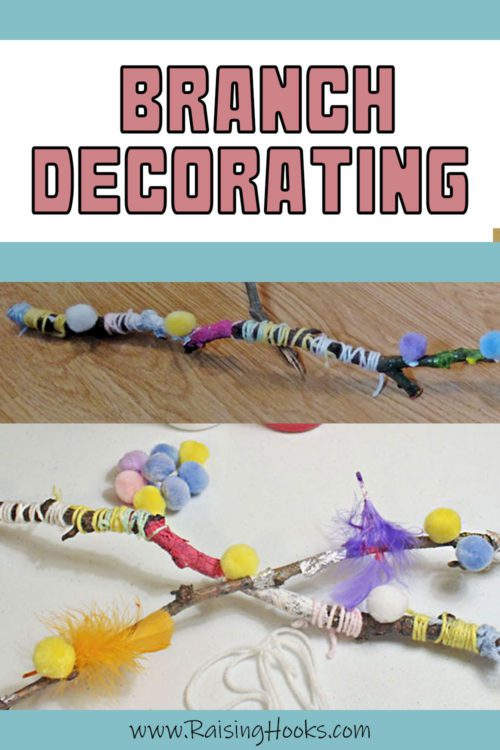
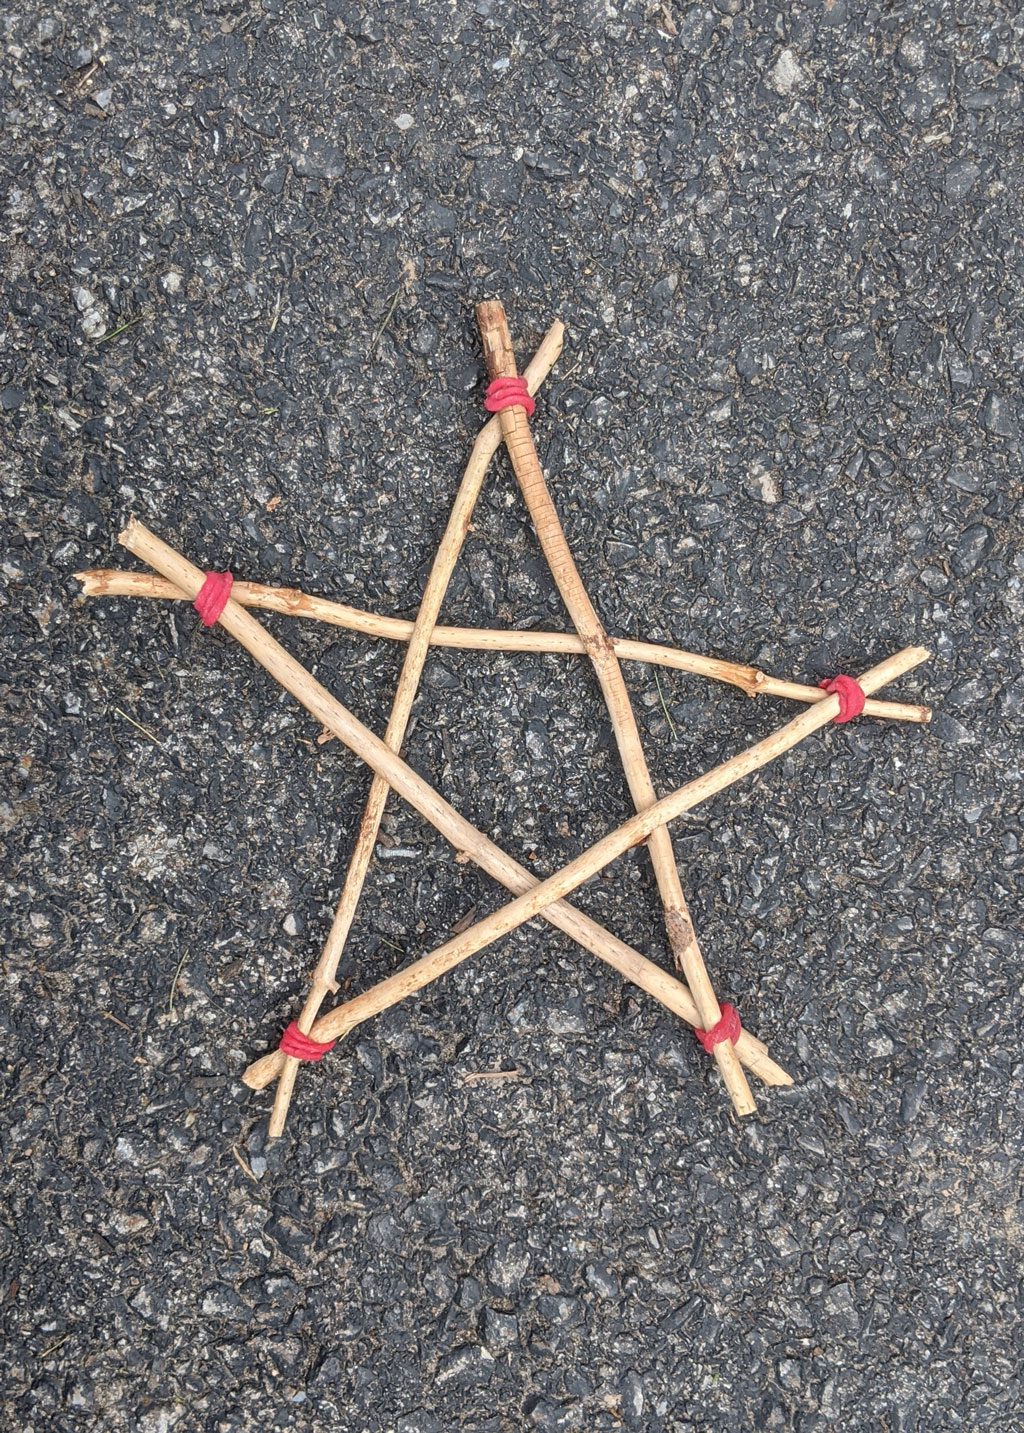
The kids and I love to gather different materials in nature to use for crafts. We use pine needles or leaves to make prints in our Nature Journals, sponge paint pine cones, Decorate Branches and today we made stars out of twigs! These are so pretty and would look amazing as decoration for a nature inspired nursery, child’s room or even hung outdoors!
You will need:
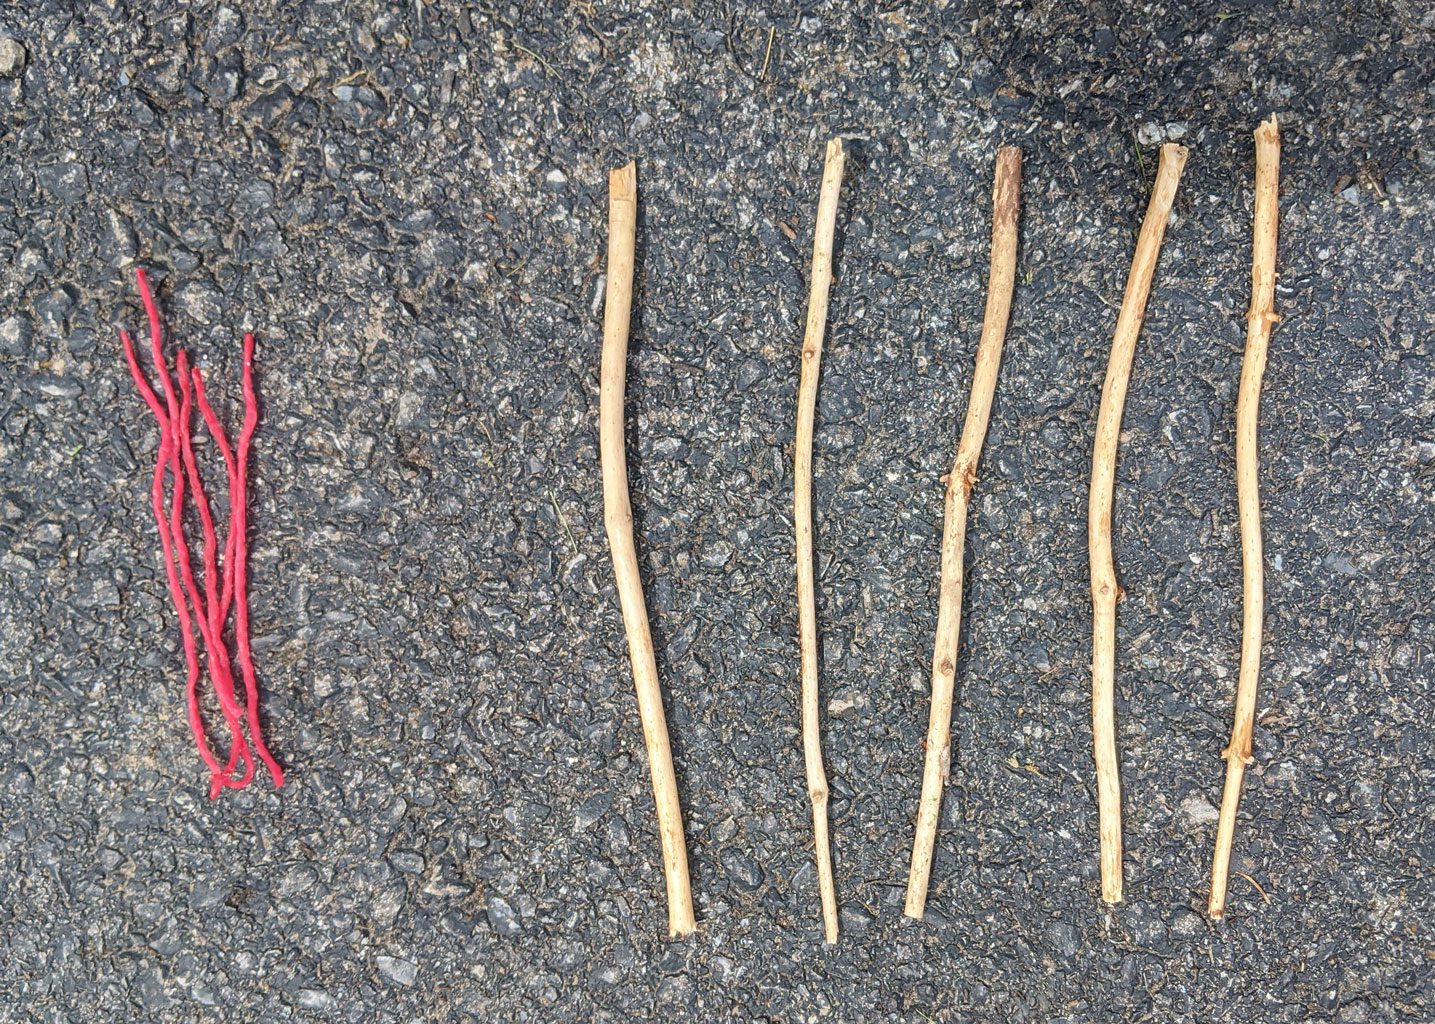
Twigs – 5 for each star
Wikki Stix or Yarn (hot glue gun, string, twine or floral wire would work too)
Paint – optional
Instructions:
1. Make sure your twigs are all one length. I made these about 9.5 inches long.
2. Starting with 2 twigs, lay the right twig over the left, crossing them at a diagonal to make your first point. Tie them together.
*TIP* As you join the twigs, locate the thicker and thinner side of each twig. The thick side on one twig should join with the thin side of the other twig for each point. This will help ensure no weak points.
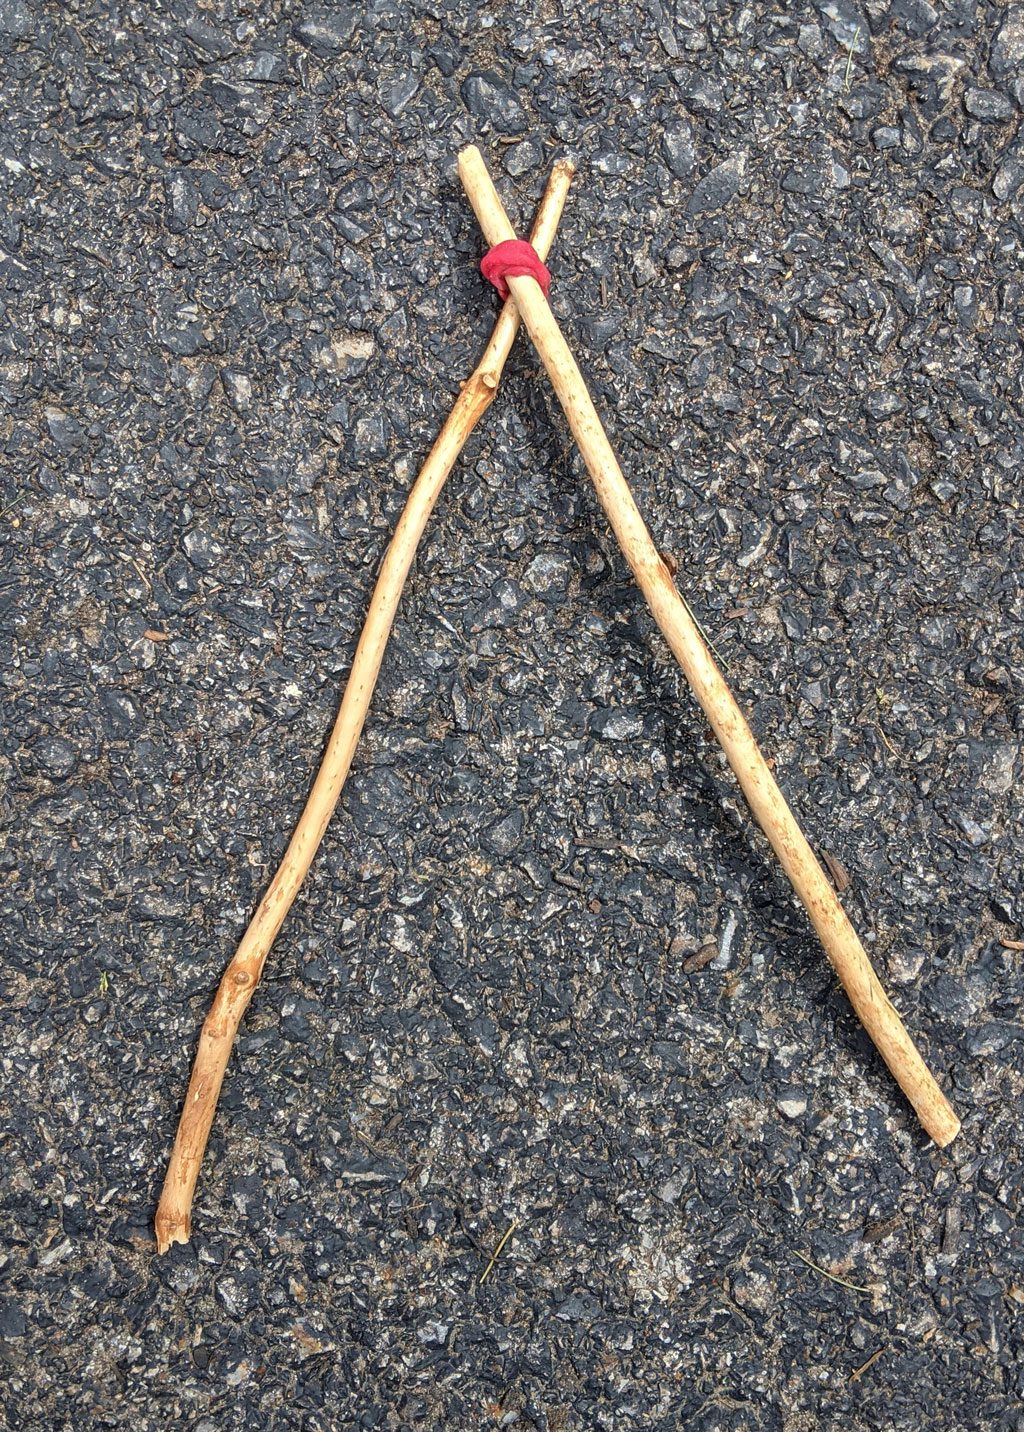
3. Take your next twig and lay it over the second twig creating another point. Tie these together.
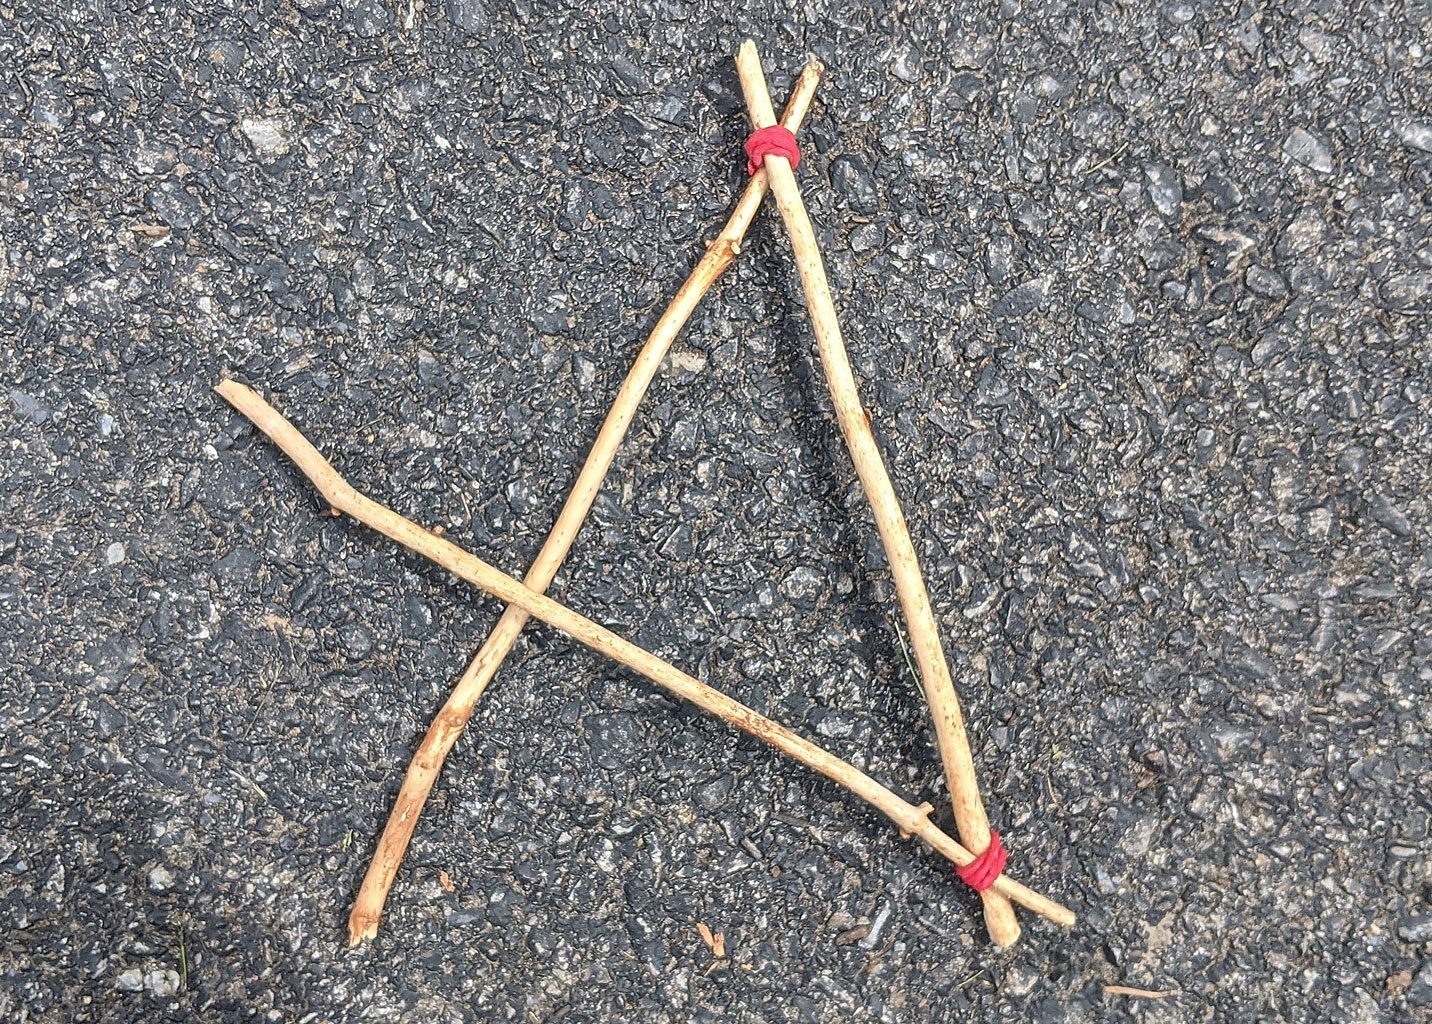
4. Your fourth twig will cross with the third, weaving under then over the first and second twigs.
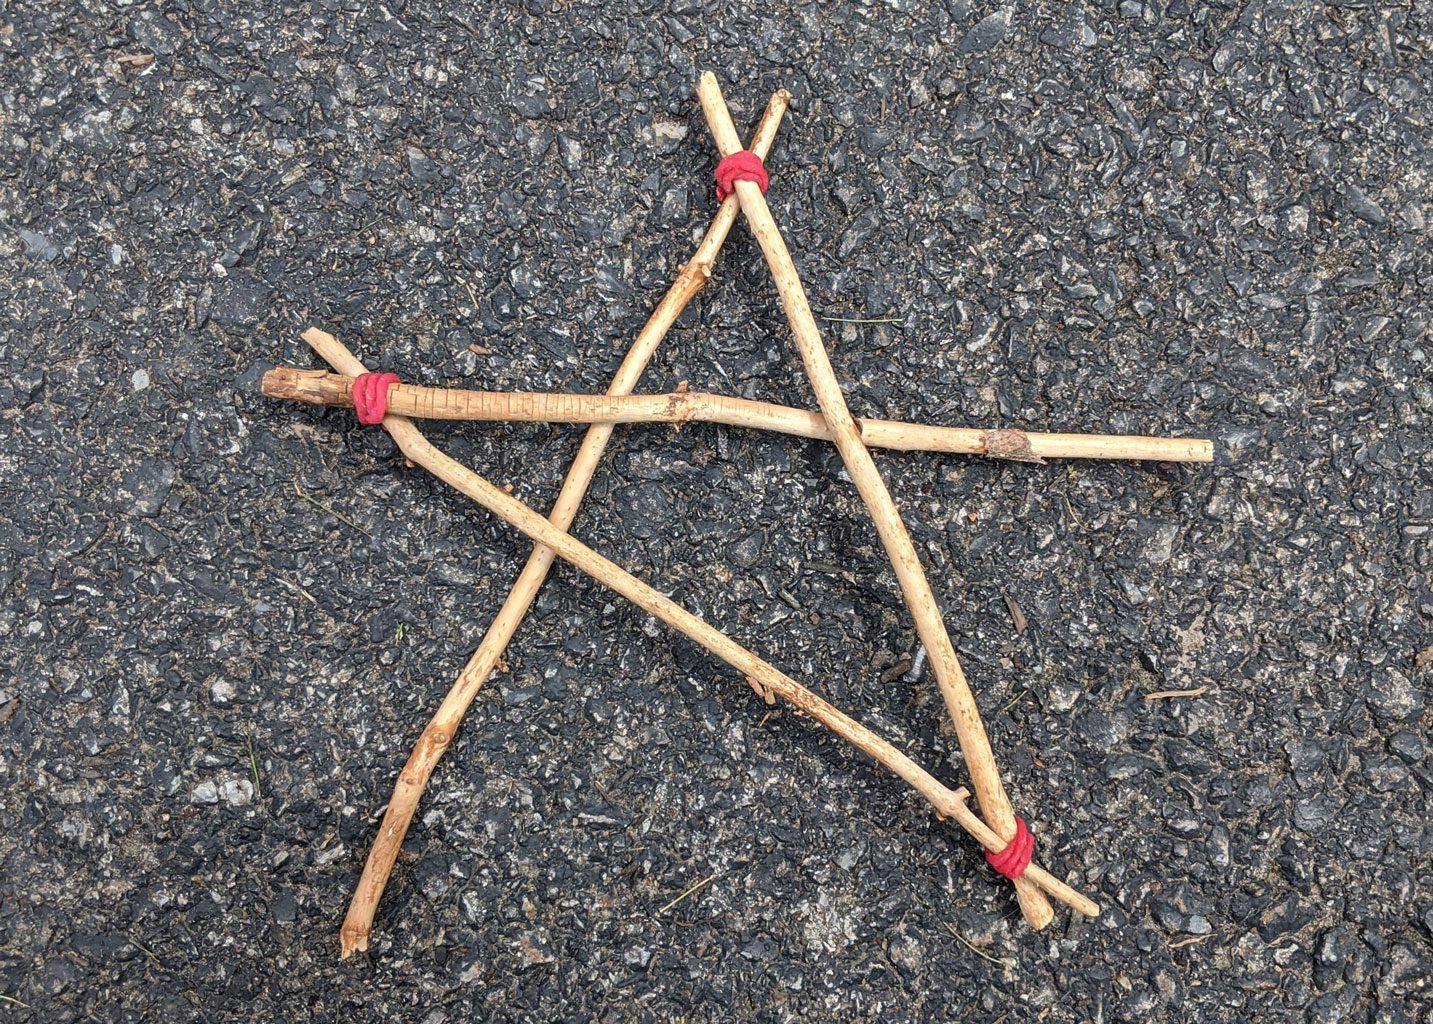
5. Starting at the end of the fourth twig, weave the last twig under then over, crossing the end with the first twig. Tie each end.
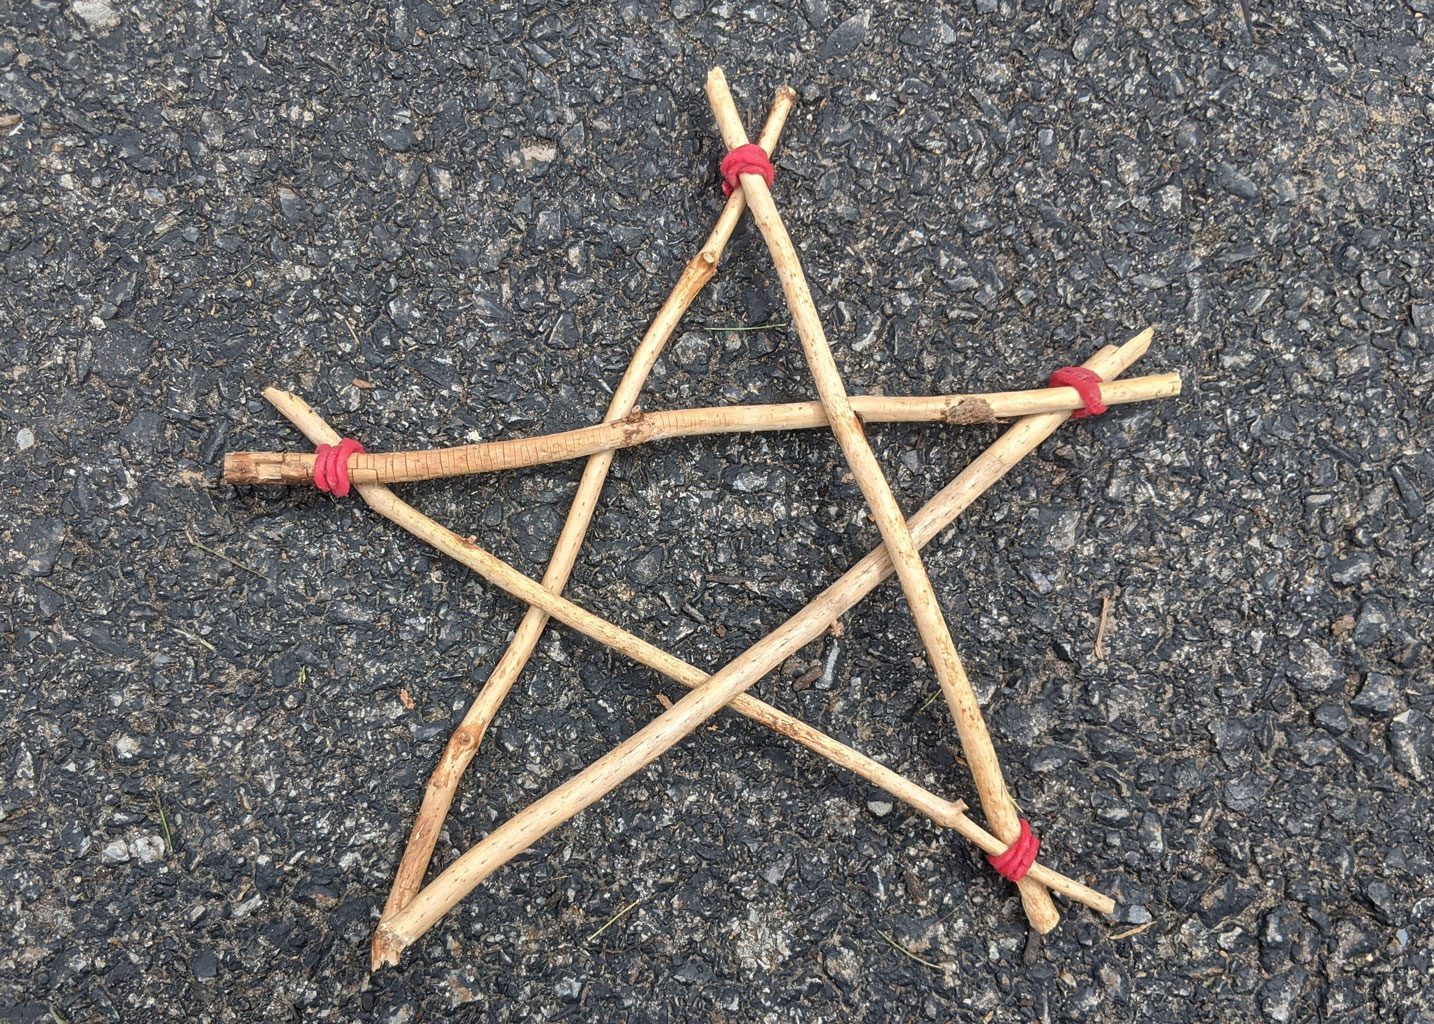
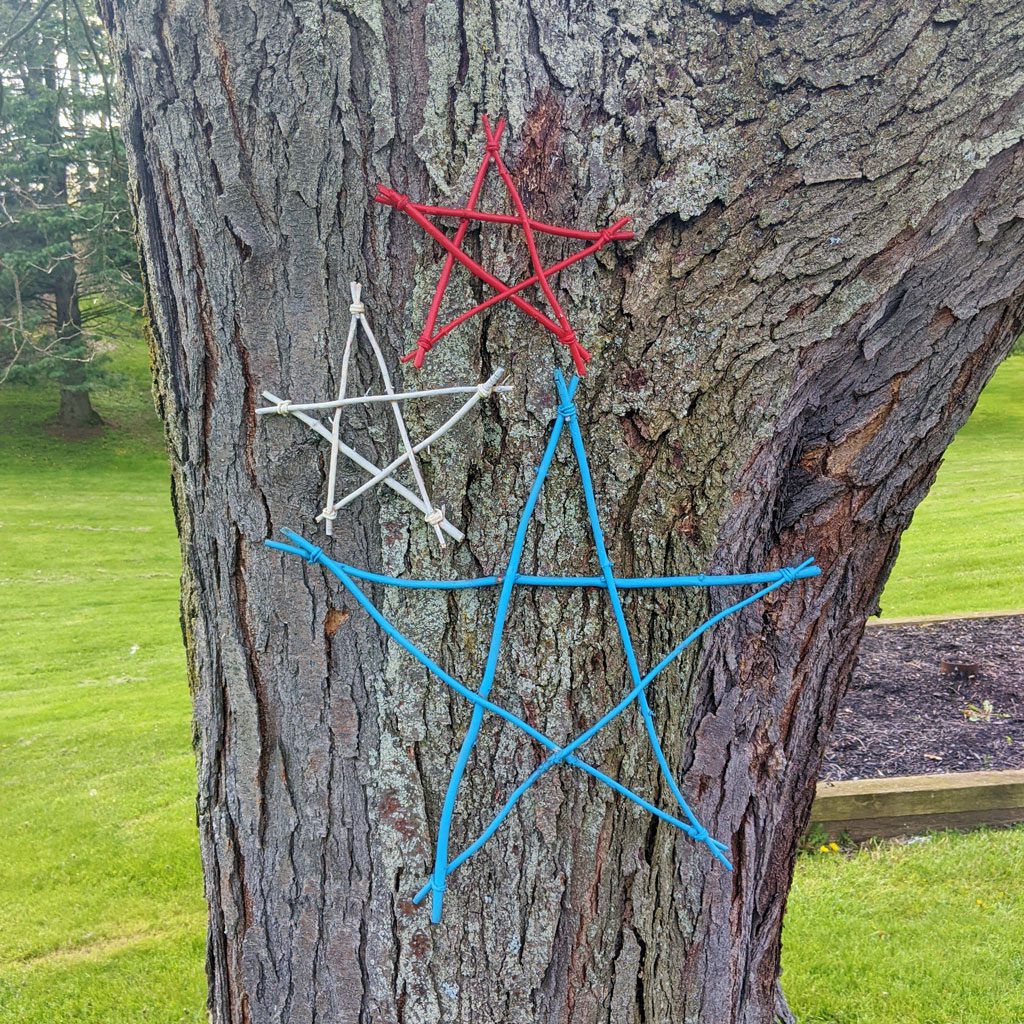
We made these for Memorial Day Weekend so we painted them Red, White and Blue! I just love how they turned out. We hung them on the tree as you enter the driveway.
Here’s a video you can follow while making your twig star.
Related Posts
Plastic Wrap Painting
February 6, 2019
Paper Turkey Craft
November 22, 2021
